
HTML and CSS form the foundation of the web, as they are what the browser processes—HTML structures the content, CSS adds style, and PHP powers dynamic functionality behind the scenes.
If you're working in anything web-related, having a website is a must! It’s your online presence, and without one, you could be missing out on great opportunities.
For this demo, hopefully, you already have a Linux development environment set up on your Chromebook. In this example, the dev environment is named "container." You’ll also need VS Code installed in your Chromebook’s Linux development environment. Don’t worry—installing VS Code is simple! You can follow the step-by-step guide in this blog post.
For this demo, we’ll be using Azure’s Free F1 instance of a web app. Azure is designed with small businesses in mind and offers an intuitive experience. To access the free tier instance, a pay-as-you-go subscription is required—but don’t worry, you won’t be charged unless you choose to scale up the instance.
In this demo, we’ll set up a workflow by installing the Azure extension, resolving the OS keyring issue for VS Code, and installing a graphical SFTP client. After that, we’ll connect to the Azure web app instance via SFTP, create index.php, and upload it to the Azure instance.
You’ll discover how developing a website or web app on a Chromebook Plus is not only practical but also reduces frustration and minimizes computing maintenance.
index.php via SFTP to the Remote Azure Web App Instance
Installing the Azure Resources Extension in VS Code
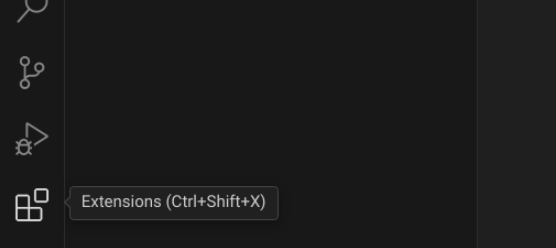
Let's open Visual Studio Code and head over to the Extensions tab.
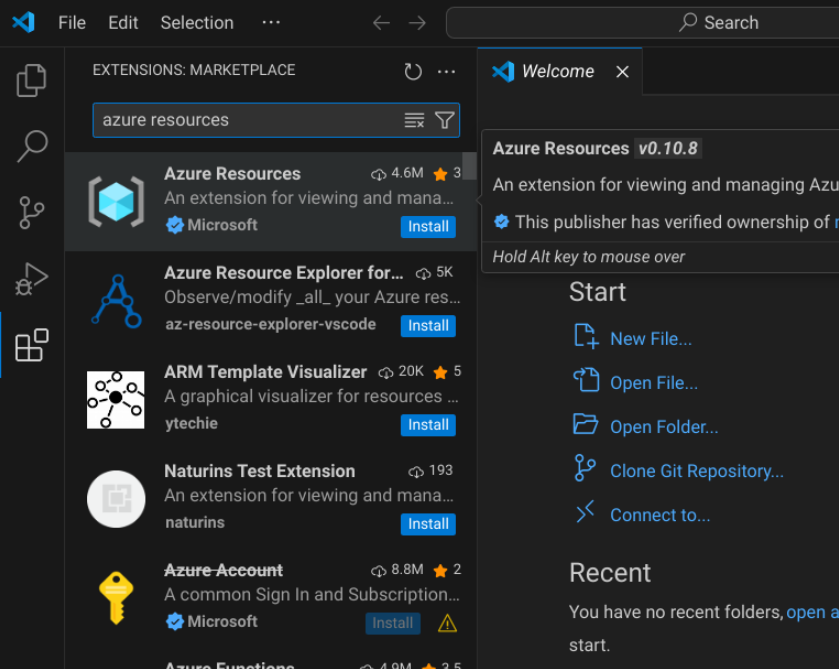
Now, let's install the Azure Resources extension in VS Code. Simply type "Azure Resources" in the search field.
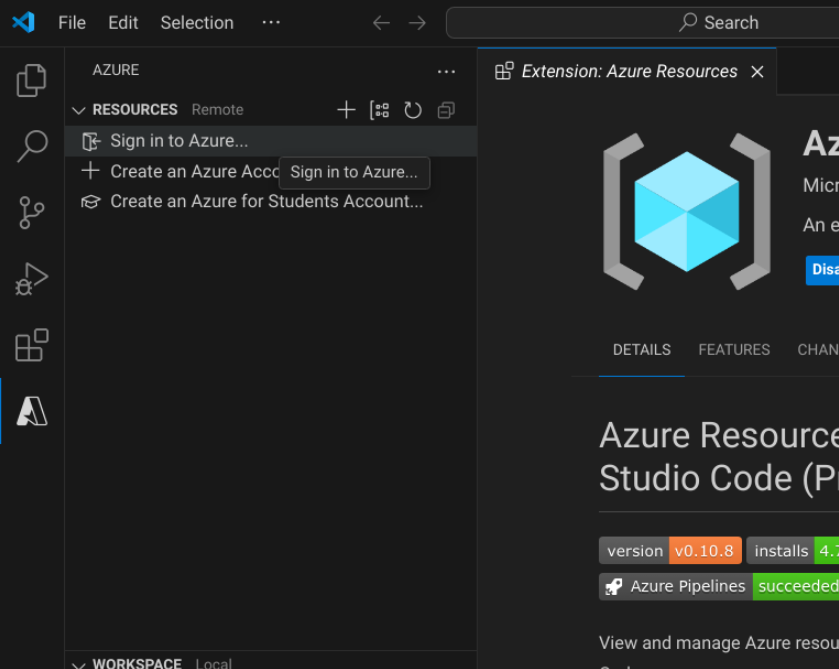
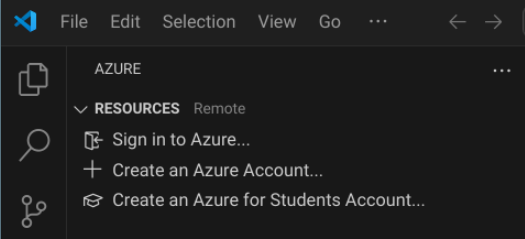
Next, click the "A" icon under the Extensions tab, then select Sign in to Azure.
Fixing the OS Keyring Issue in VS Code on a Chromebook
When signing into Azure from the Azure Resources extension, VS Code may be unable to resolve the OS keyring.
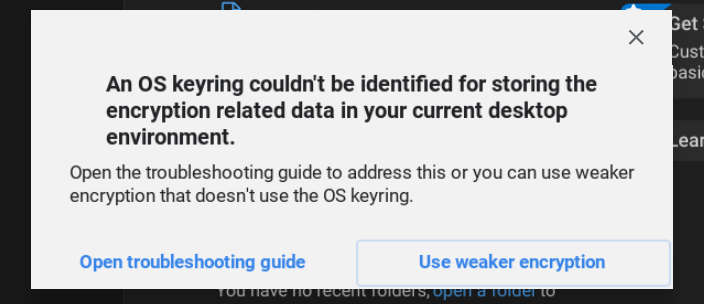
Avoid using weaker encryption. Simply click the X at the top right of the modal window, then close VS Code.
Now, open the Terminal by clicking the launcher button in the bottom left corner.
According to the troubleshooting guide, we need to install kwallet5. Open the Terminal and search for kwallet5. Then, copy and two-finger tap to paste the following command into the Terminal.
sudo apt search kwallet5
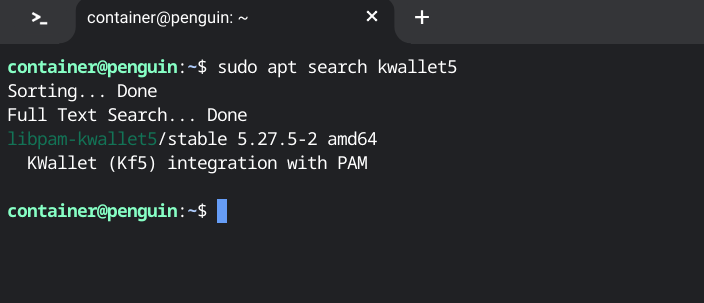
The Terminal indicates that the package to install is libpam-kwallet5.
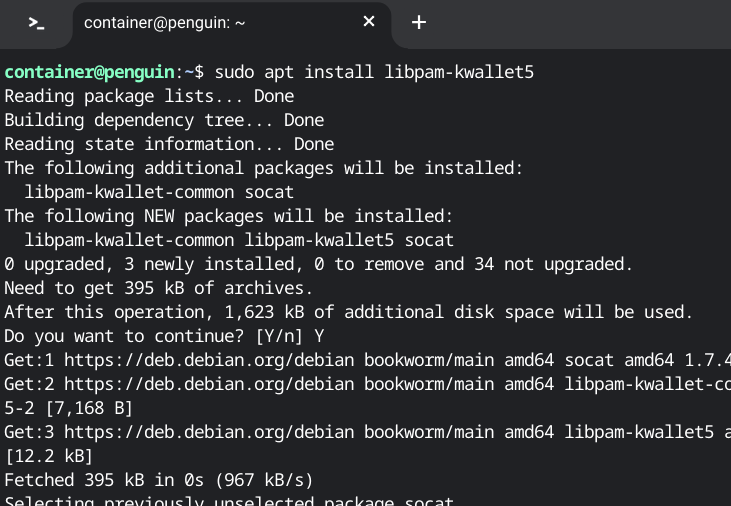
Now, let's install libpam-kwallet5. Copy the command below, two-finger tap to paste it into the Terminal, and press Enter.
sudo apt install libpam-kwallet5
To clear the Terminal window, simply type clear and press Enter.
clear
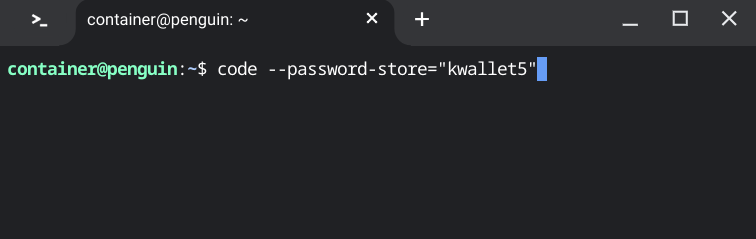
Now, let's launch VS Code from the Terminal and set kwallet5 as the password store.
According to the troubleshooting guide, even if you install the kwallet6 package, you can still use kwallet5 as the setting for the password-store parameter.
Copy and paste the following command into the Terminal to open VS Code with kwallet5 for password storage.
Keep in mind that whenever you want to connect to Azure's App Service, you'll need to launch VS Code using the following Terminal command.
code --password-store="kwallet5"
Keep the VS Code window open, and then open the Files app to create a project folder inside the Linux container.
Creating a Project Folder Using the Files App on Chromebook Plus
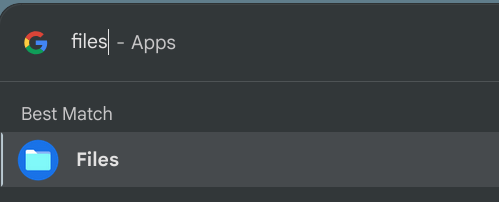
Open the Files app by launching the Launcher and typing Files in the search bar. You can also copy and two-finger tap to paste "files".
The folder we’re creating will be used for the initial test handshake with a graphical FTP client called FileZilla.
files
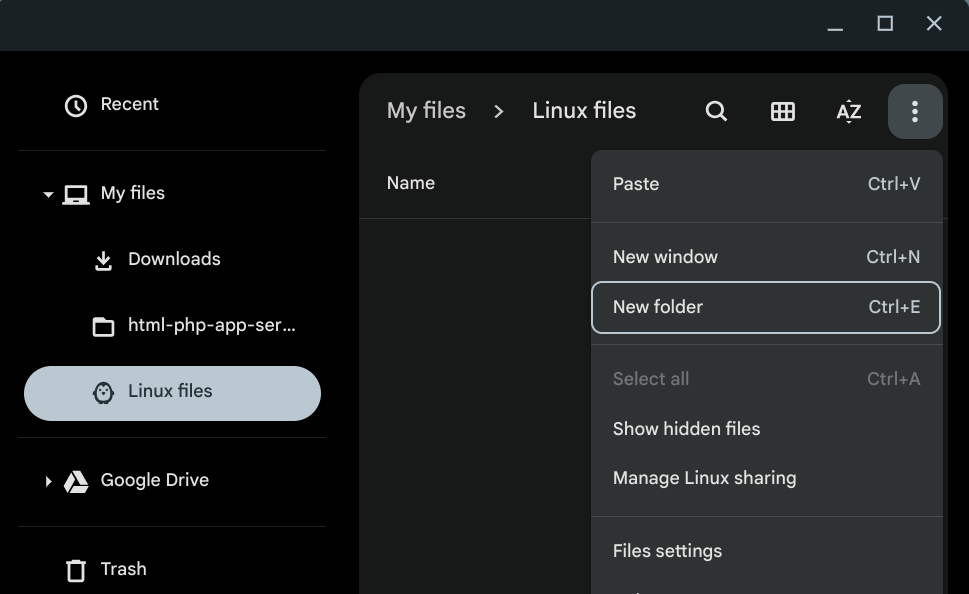
In the Files window, click Linux files, then click the three-dot menu button and select New folder.
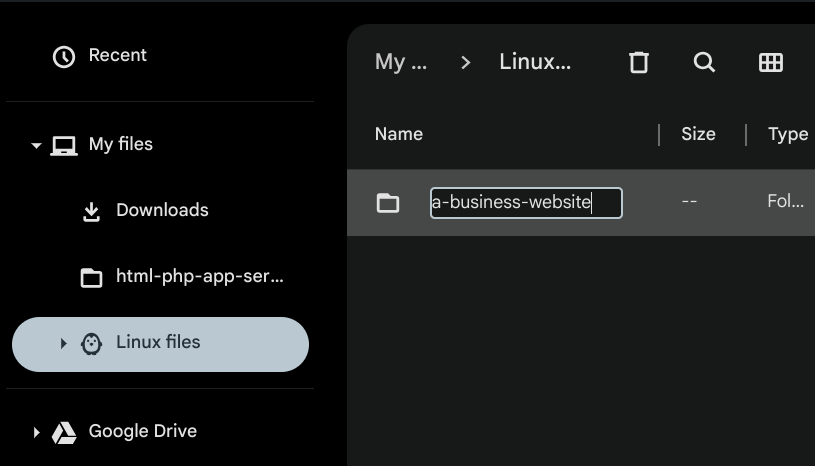
Rename the folder to "a-business-website".
a-business-website
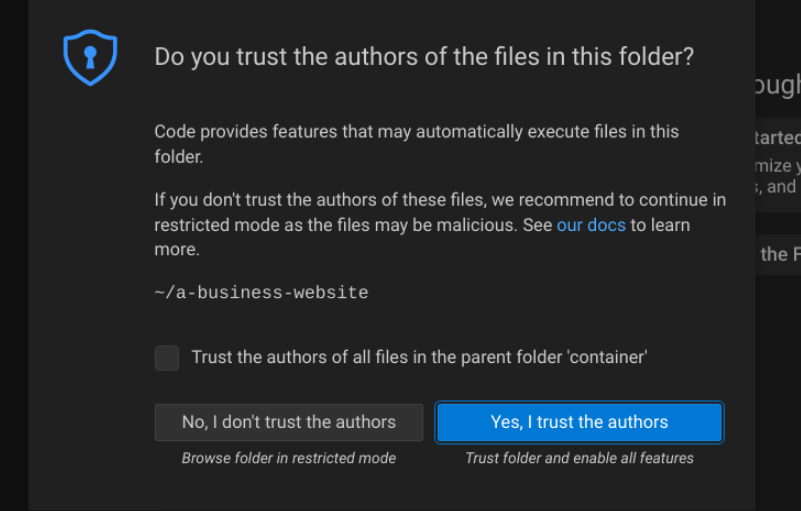
Open the folder in VS Code by clicking File in the top menu, then selecting Open Folder....
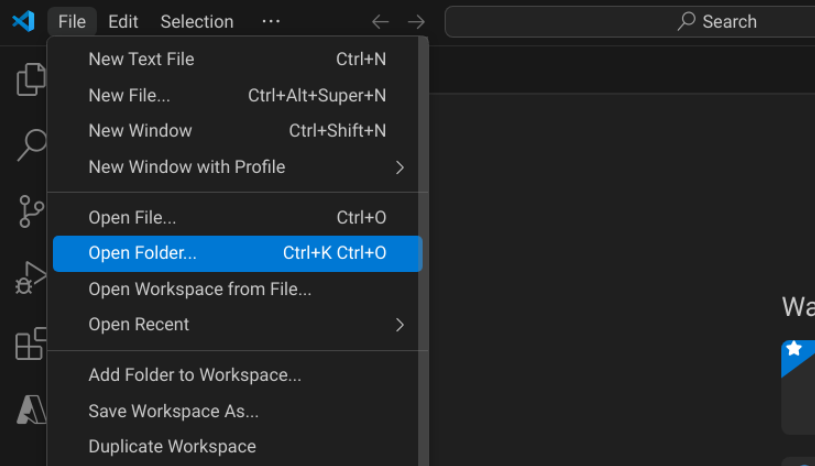
In the pop-up window, select "a-business-website".

Click "Yes, I trust the authors" to proceed.
Now, let's connect VS Code to the App Service.
In this scenario, we'll perform a test connection. An Azure account with a subscription already set up, and we'll try using the free tier for testing.
Once the Azure extension is selected, you'll see three options available.
Creating a Web App container in Azure
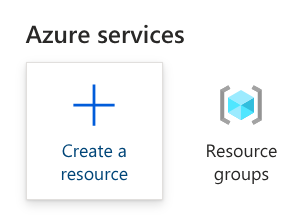
In the Azure portal, let's create a resource. Organizing resources inside resource groups makes management easier and helps keep track of costs more effectively.
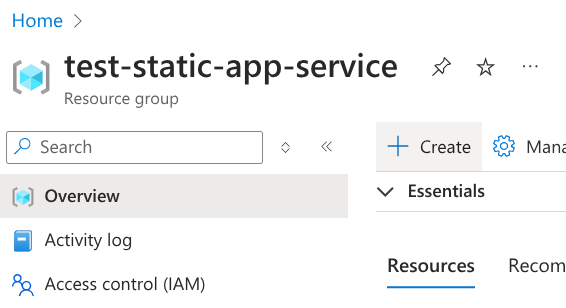
For this example, I've created a resource group named "test-static-app-service".
Next, inside the resource group, click Create.
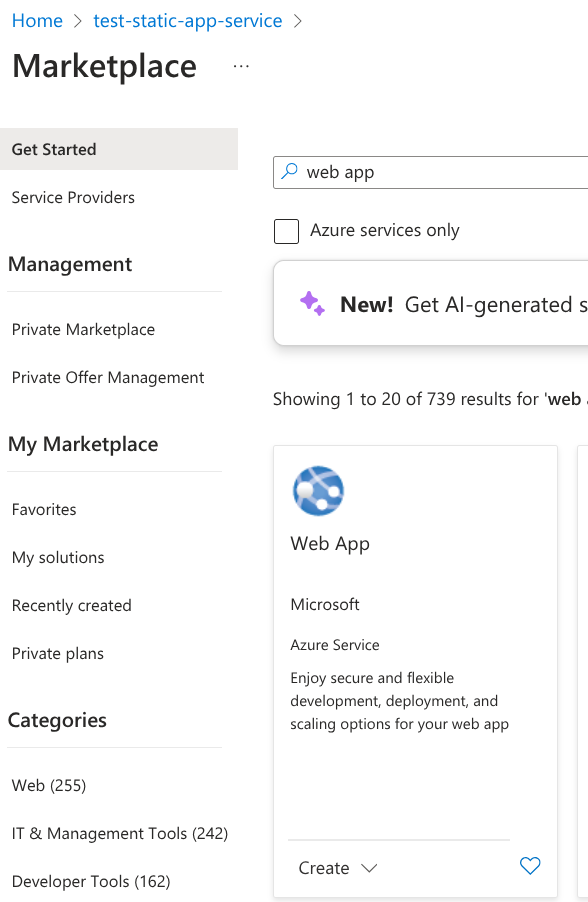
In the Marketplace, search for "Web App" and click Create.
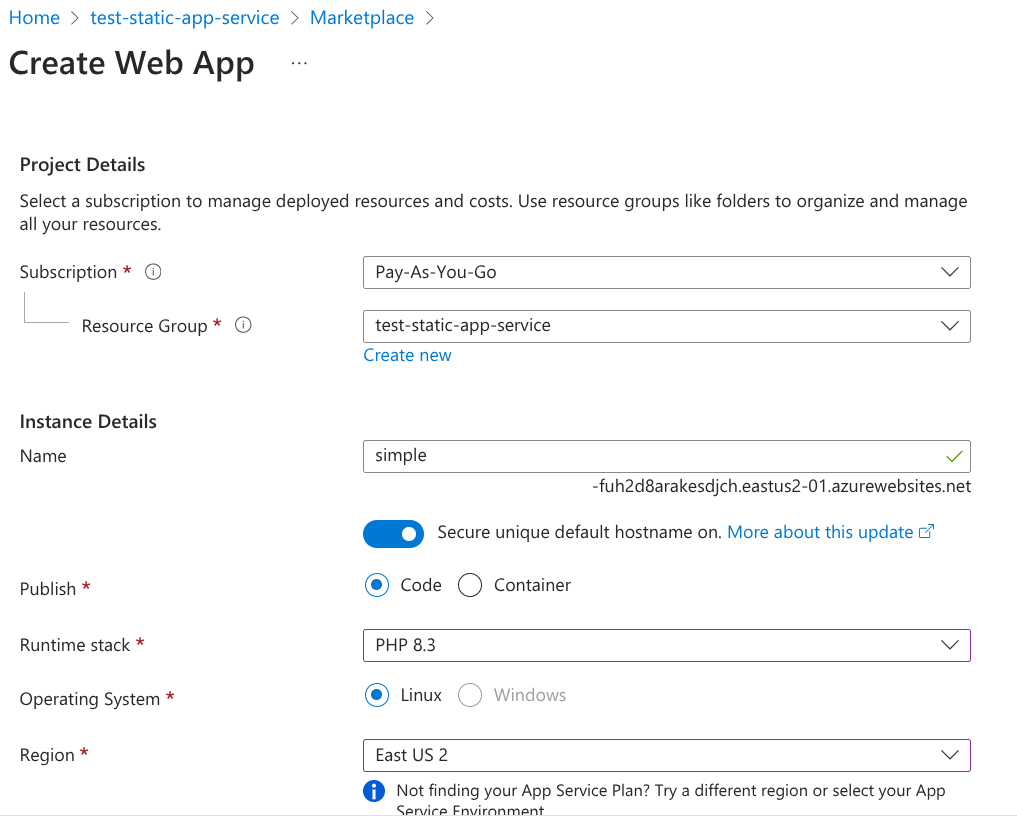
Set the name to "simple", choose Code for publishing, select PHP 8.3 as the runtime stack, and pick a nearby region from the dropdown menu.
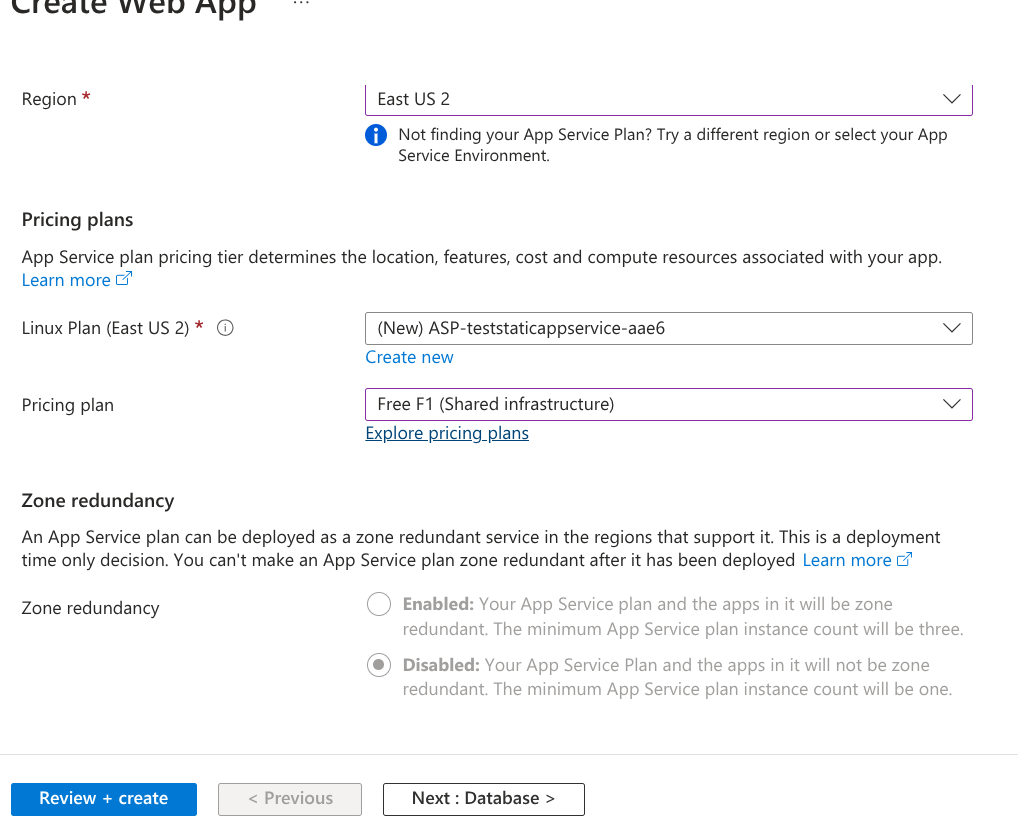
Scroll down and select the F1 Free Tier plan.
At the bottom of the portal page, click Review and Create, then click Create. This will start provisioning the "simple" instance.
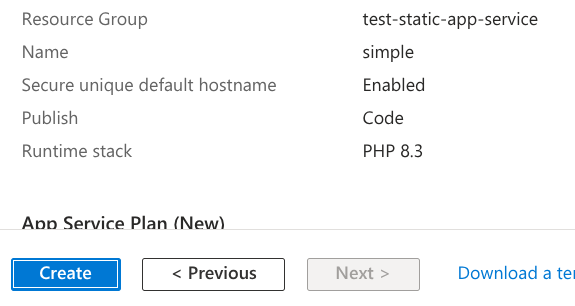
At the bottom of the portal page, click Review and Create, then click Create. This will start provisioning the "simple" instance.
Installing FileZilla: A Graphical FTP Client on Chromebook Plus
While you can use Git, it can be a bit overwhelming when working on an initial small business website.
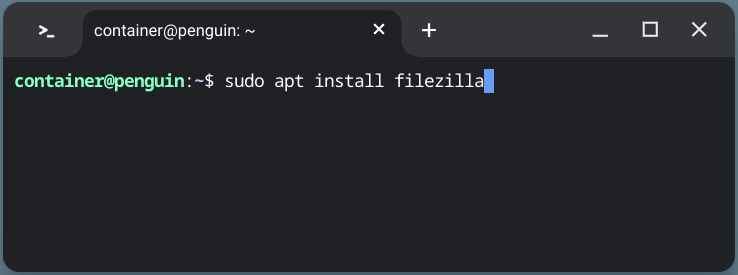
Let's install FileZilla FTP using the Chromebook Plus Terminal.
Open the Terminal on your Chromebook Plus and enter the following command.
sudo apt install filezilla
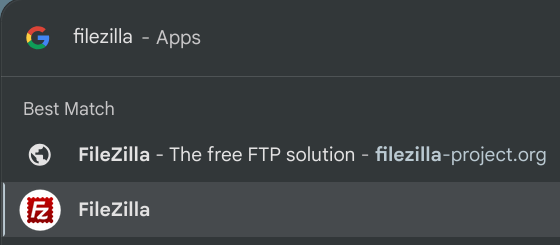
Open FileZilla by searching for the app in the Launcher.
filezilla
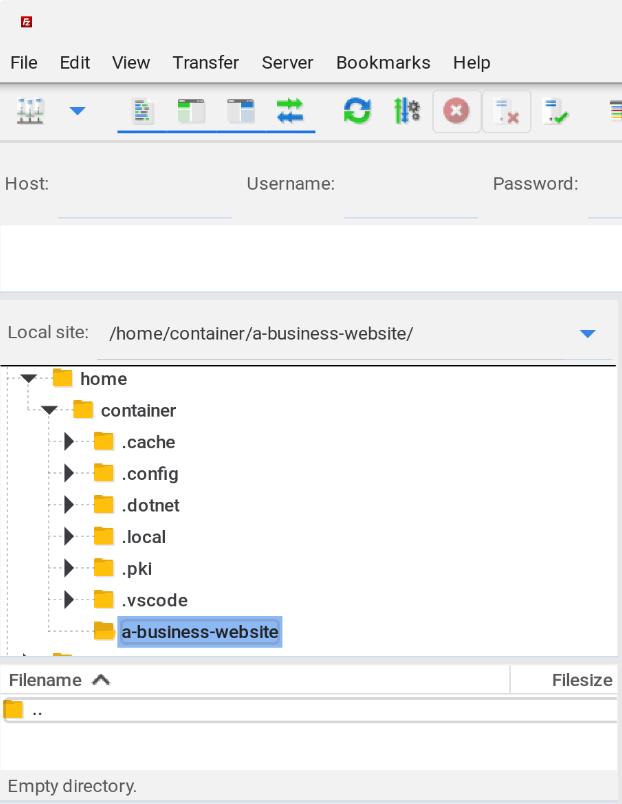
Take a moment to notice that the folder created earlier, "a-business-website", is visible. You'll need to click on this folder when uploading files from it.

Copying and Pasting SFTP Credentials into FileZilla
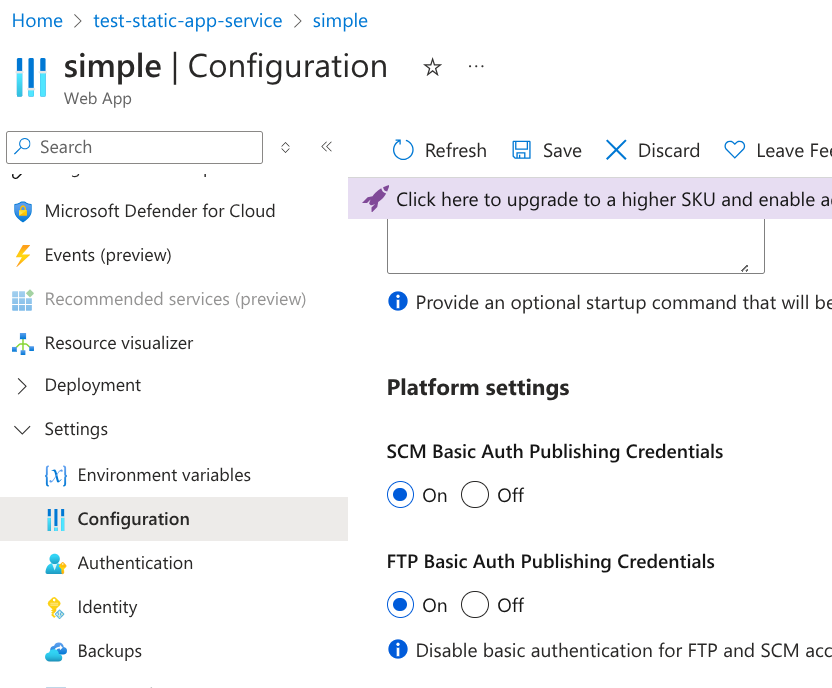
Visit the Azure portal to copy your FTP credentials.
Open the Site Manager in FileZilla by clicking File, then selecting Site Manager.
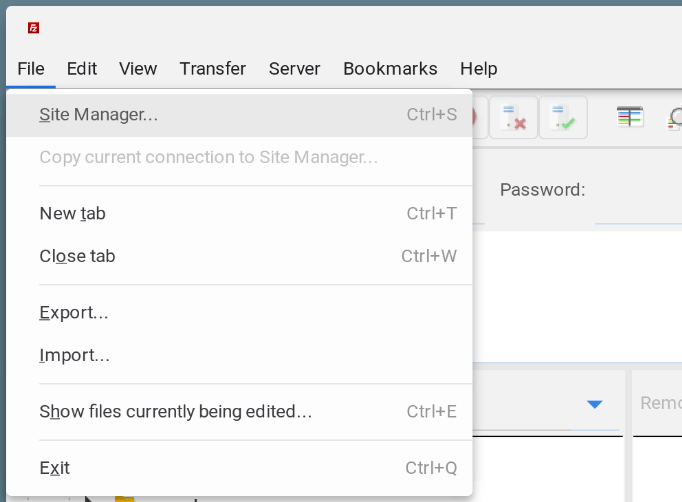
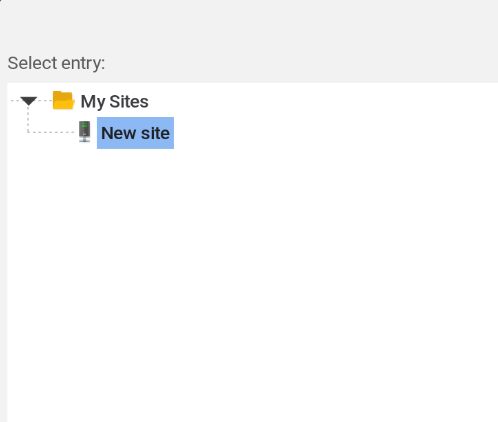
In the Site Manager, click New Site.

Simply press Enter to proceed, keeping the site name as "New site", due to an interface anomaly.
To copy the SFTP credentials, visit the Deployment Center inside the "simple" resource.
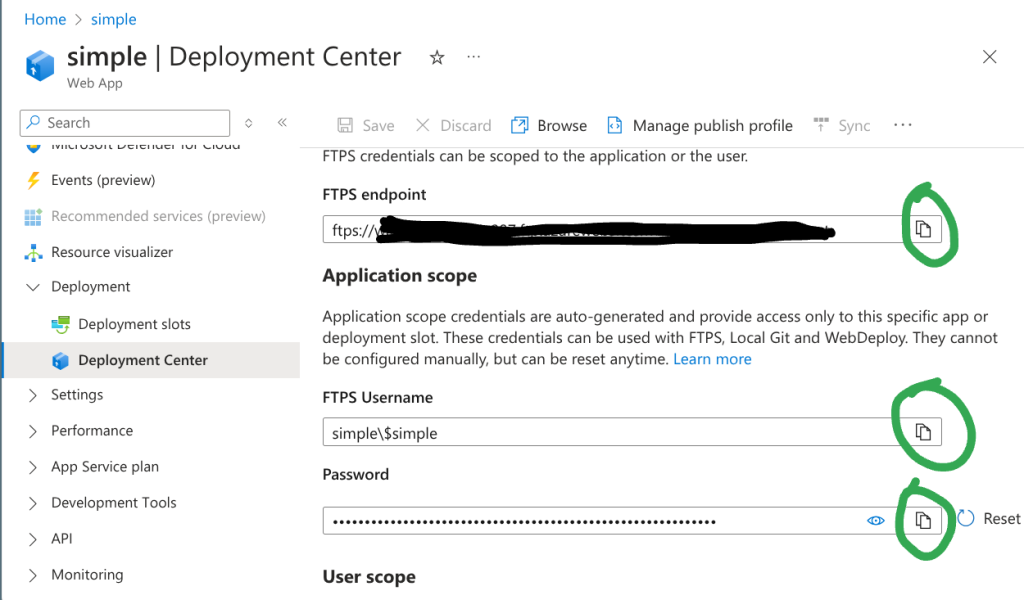
Paste the SFTP credentials by using a two-finger tap on the Chromebook touchpad.

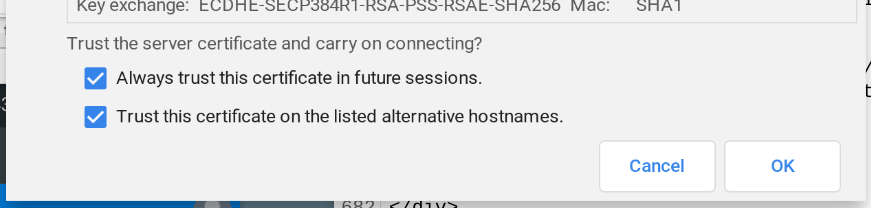
After saving the password and clicking Connect, click OK to trust the SFTP server certificate.
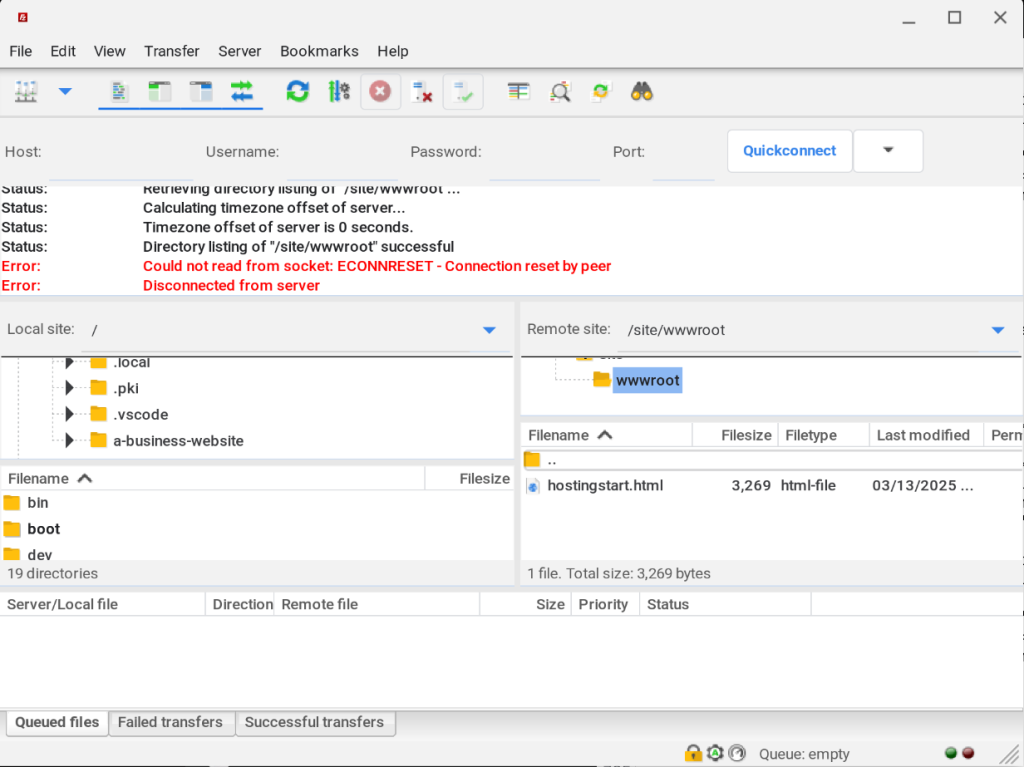
Congratulations! You now have a successful SFTP connection to a remote SFTP server in an Azure cloud web app instance.
Uploading index.php via SFTP to the Remote Azure Web App Instance
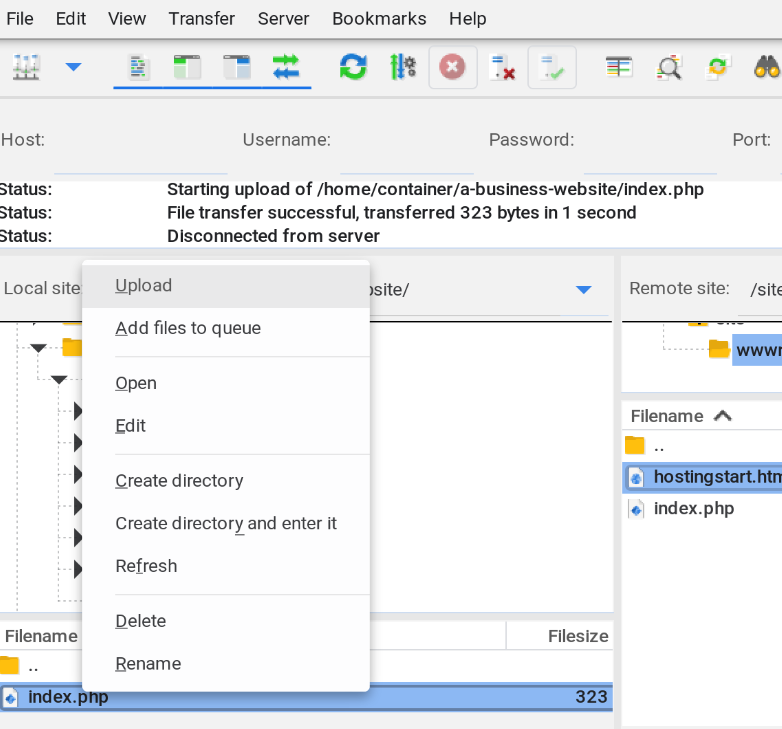
In FileZilla, navigate to the left panel, expand home and container, then click on the a-business-website folder. The two left window frames display local files.
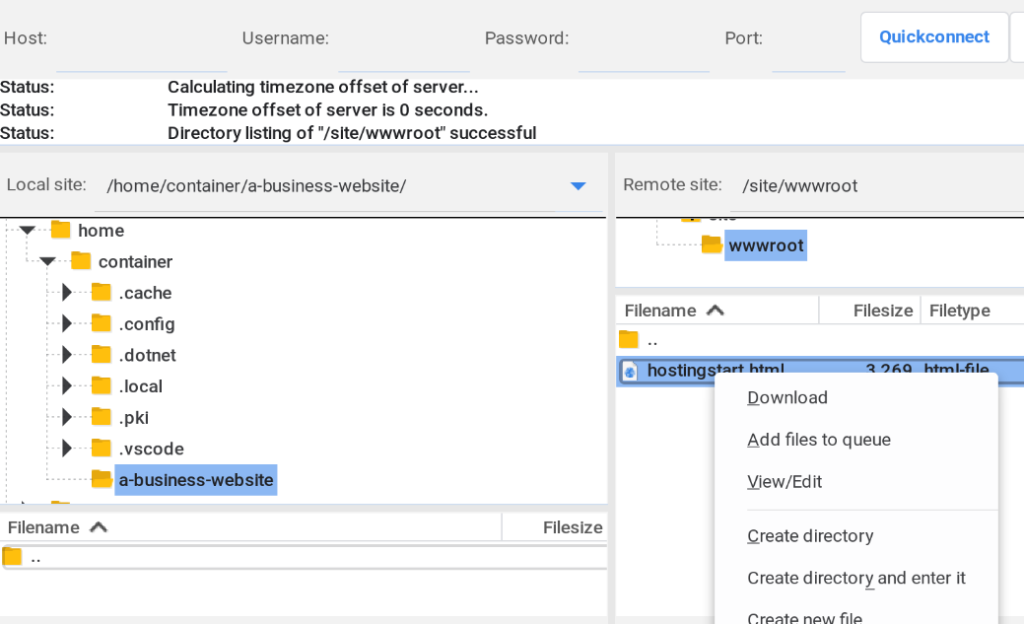
Open the Site Manager by navigating to File → Site Manager, then click Connect. Next, two-finger tap on hostingstart.html and select Download.
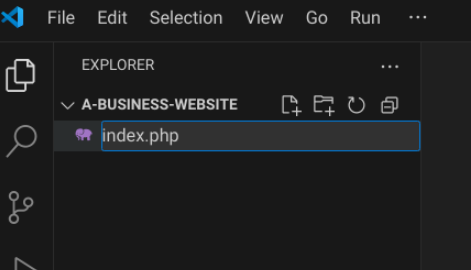
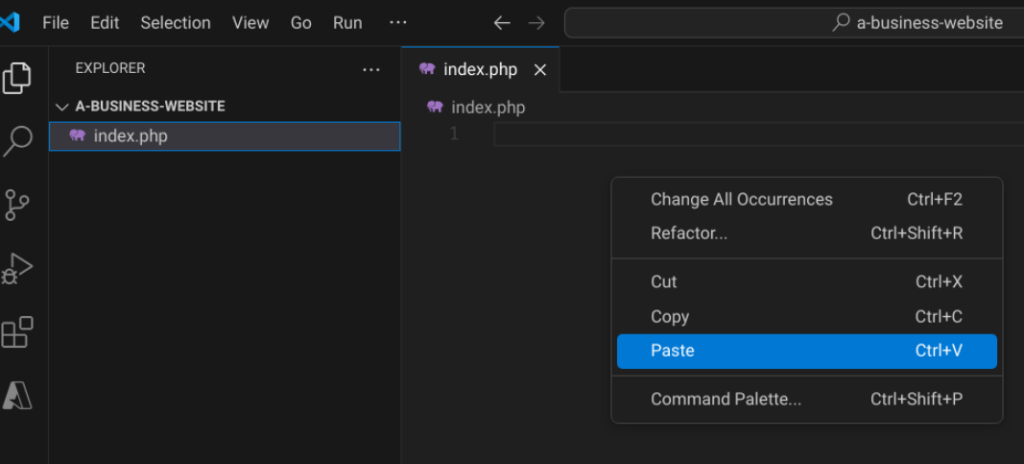
In VS Code, create a new file named index.php.
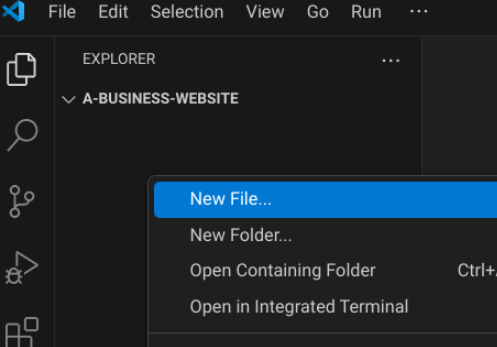
In VS Code, name the file index.php.
Copy the following HTML document markup and paste it into index.php in VS Code.
        <!DOCTYPE html>
    <html lang="en">
    <head>
        <meta charset="UTF-8">
        <meta name="viewport" content="width=device-width, initial-scale=1.0">
        <title>Testing sftp upload</title>
    </head>
    <body>
        <h1>Testing static website</h1>

        <p>Testing sftp upload. Todays Date is <?php echo date('l jS \of F Y h:i:s A'); ?></p>
    </body>
    </html>
In VS Code, click on index.php in the left pane, then paste the HTML document markup.
In the FileZilla FTP client, upload the index.php file created in VS Code.
To view the changes, go to the Azure portal, open the Web App resource, and click the link under Default Domain.
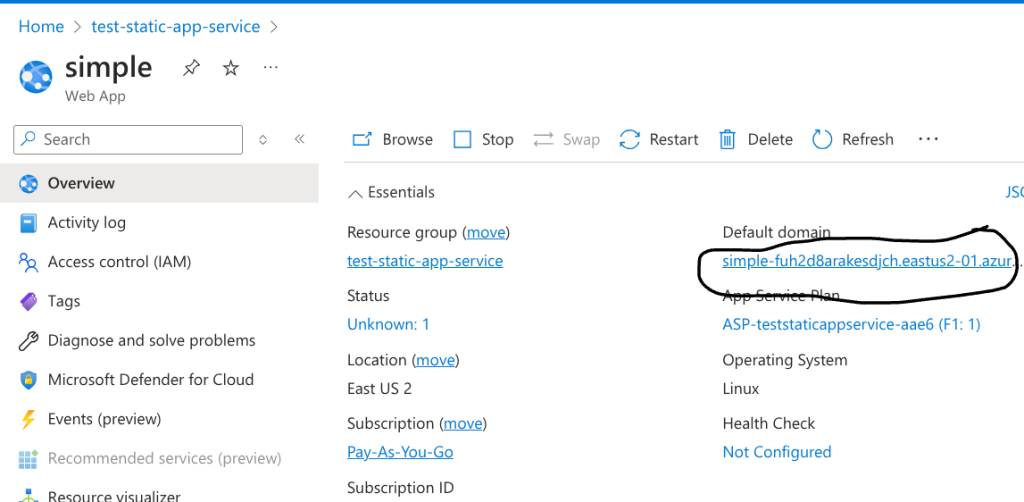
When you visit the Default Domain link, you should see the following page.
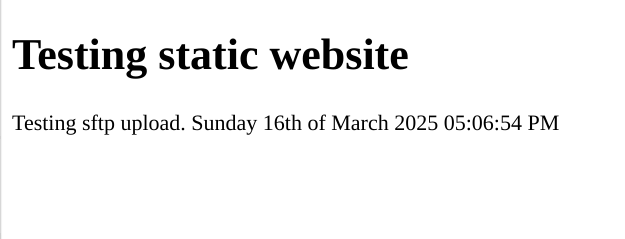
Now you have a complete workflow for building and managing your static business website using your Chromebook! Remember, your initial website doesn’t need to be fancy—it can simply be a plain HTML document. As you identify your business needs, you can gradually improve it. The most important thing is that your content and data belong to you, giving you complete control over your website.
For further reading on building your PHP website, I recommend Chapter 8, as it explains how to structure a static PHP application by breaking sections apart using PHP file imports. A great resource for this is Larry Ullman’s 2011 publication, PHP for the Web: Visual QuickStart Guide.
For a higher-level managerial perspective on HTML and CSS, I recommend HTML and CSS: Design and Build Websites.