Chromebook is a valuble product at a low cost. In the past, before a user had access to a linux terminal required a hefty expense at a local computer store, and to download a linux distro was such a pain over DSL internet connection. Now you can install all the tools you need on Chromebook to start doing web development and much more.
Here’s how to set up a .NET development environment on a Chromebook after enabling the Linux development environment.
If you don't already have a linux development environment container on your Chromebook. Visit this page to do so before going forward. Once it's setup then you can open terminal window and continue with this blog post.
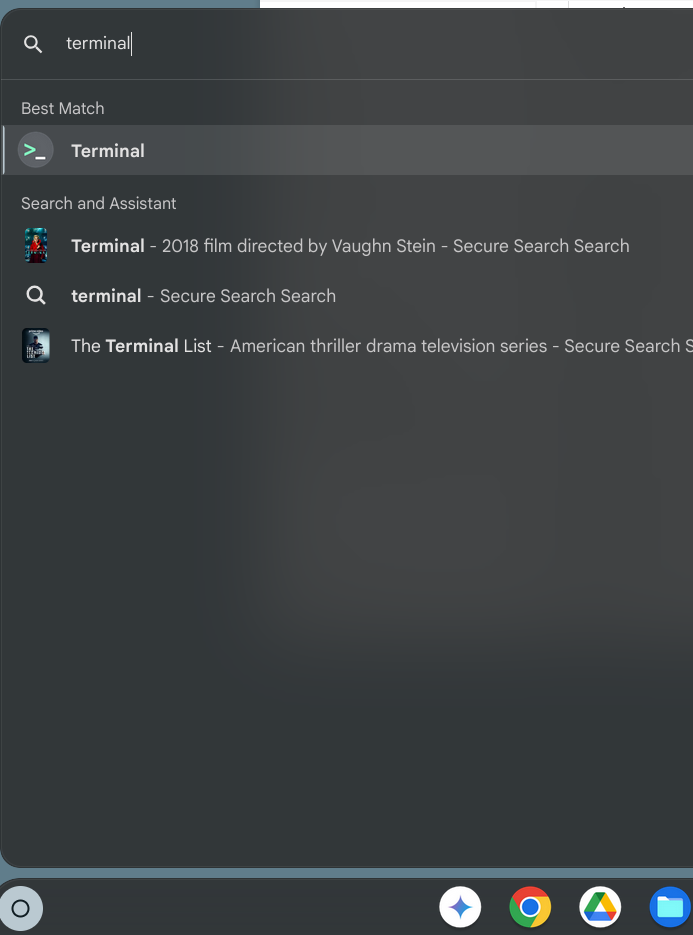
Open Terminal on Chromebook
If you have already enabled the Linux Development Environment on your Chromebook, open the terminal.
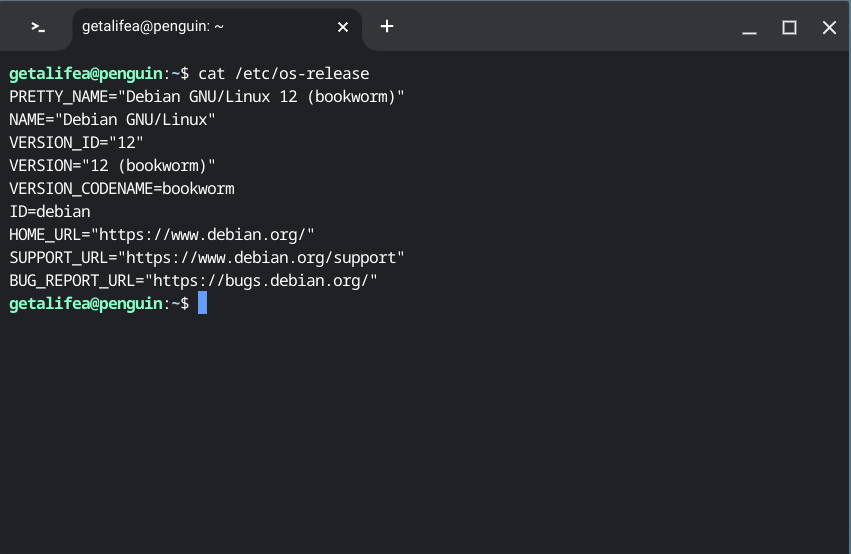
Finding out the Version of Debian on your Chromebook
You first have to check what version of debian your Chromebook's linux development environment is running. There is a Google support page about checking version of Debian."
Type the following in terminal.
cat /etc/os-release
Installing Repository for .NET Core based on debian version
Based on the Debian version on your Chromebook, we need to install the corresponding .NET repository..
Add the .NET repository for Debian 12 to install .NET. If your Debian version is different, you can find instructions here. For Debian 11, visit here, or for Debian 10, visit here.
Type the following for debian 12 in Chromebook Terminal.
sudo wget https://packages.microsoft.com/config/debian/12/packages-microsoft-prod.deb -O packages-microsoft-prod.deb
Once the repository file is downloaded, install it using your package manager.
sudo dpkg -i packages-microsoft-prod.deb
Copy paste the following to install .NET sdk.
sudo apt-get update && sudo apt-get install -y dotnet-sdk-8.0
Install aspnetcore runtime
Copy paste the following to install aspnetcore runtime.
sudo apt-get update && sudo apt-get install -y aspnetcore-runtime-8.0
You might see the following welcome message in your Chromebook's terminal.
    Welcome to .NET 8.0!
    ---------------------
    SDK Version: 8.0.303

    Telemetry
    ---------
    The .NET tools collect usage data in order to help us improve your experience. It is collected by Microsoft and shared with the community. You can opt-out of telemetry by setting the DOTNET_CLI_TELEMETRY_OPTOUT environment variable to '1' or 'true' using your favorite shell.

    Read more about .NET CLI Tools telemetry: https://aka.ms/dotnet-cli-telemetry
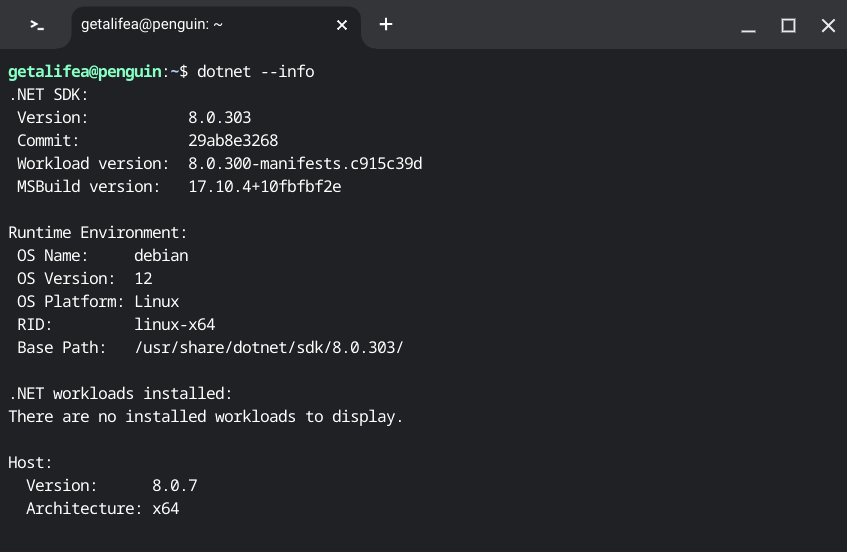
We can also verify if the dotnet command is working by using an info flag in the terminal.
Install Visual Studio Code on Chromebook
Next we need to install vs code, a code editor to create and try out dotnet console app inside vs code's terminal panel.
Next, we need to install Visual Studio Code, a code editor that allows you to create and test .NET console apps directly within its terminal panel.
uname -m
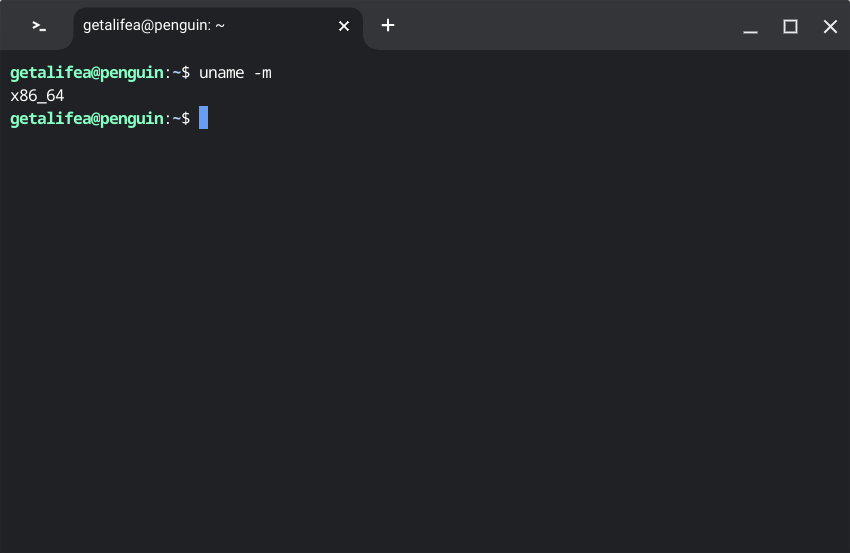
If your Chromebook has an ARM architecture, you will see arm32 or arm64. If it's x64, the Linux terminal in your Chromebook will output x86_64. In this case, you should download the x64 .deb installer.
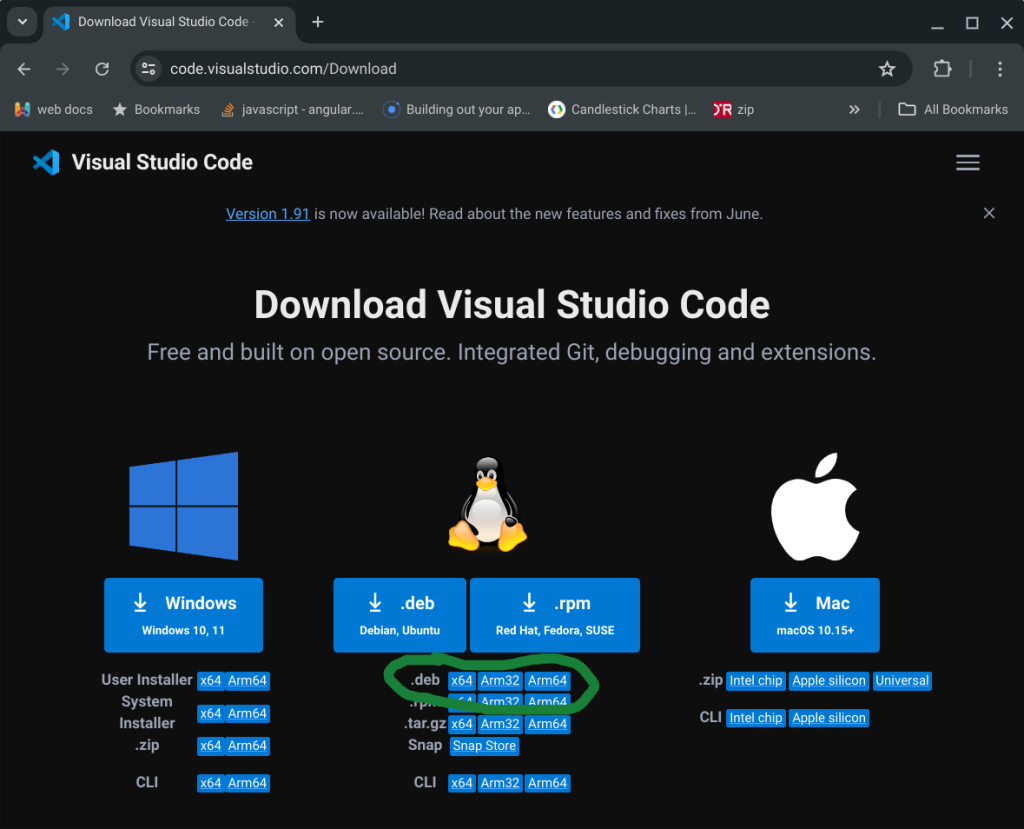
Visit code.visualstudio.com/download and click the appropriate .deb button to download the Visual Studio Code installer.
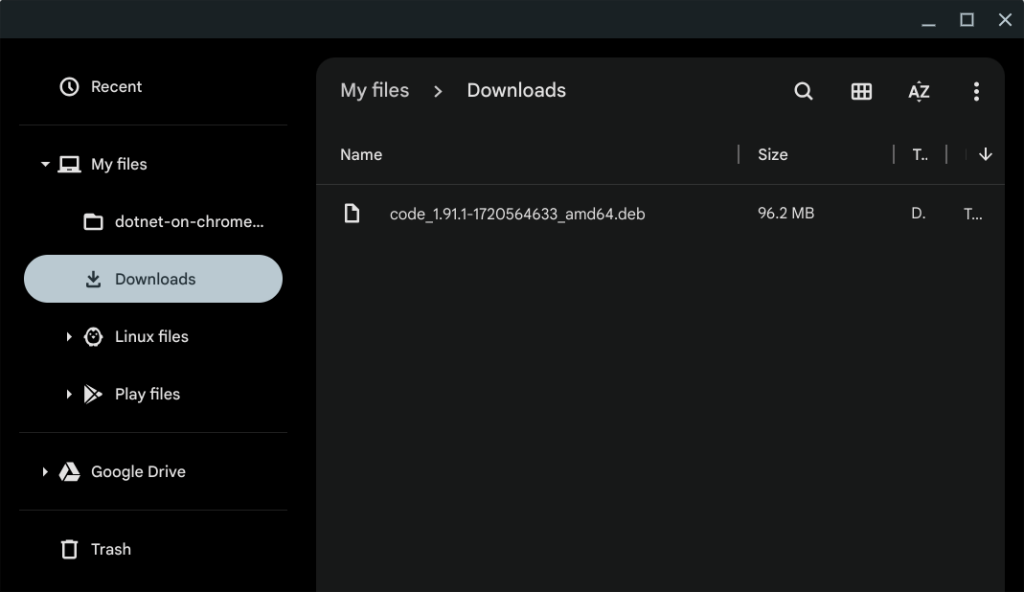
After downloading, install Visual Studio Code by navigating to the Downloads folder on your Chromebook and double-clicking the .deb installer.
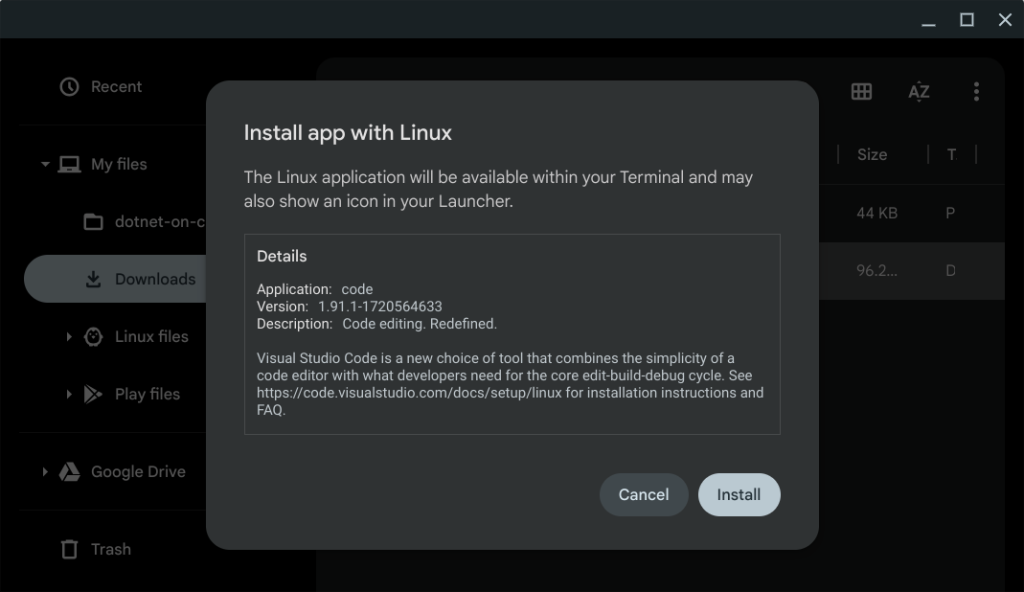
After double-clicking the .deb installer, you should see the following screen:
Create a project folder for your first console app.
You need to create a folder accessible to the Chromebook development environment to try out .NET. When the Linux development environment is enabled on a Chromebook, there is a shared folder named "Linux files" from the Linux container.
Let's create a new folder inside the Linux files directory, open it in Visual Studio Code (VS Code), and start a .NET console project.
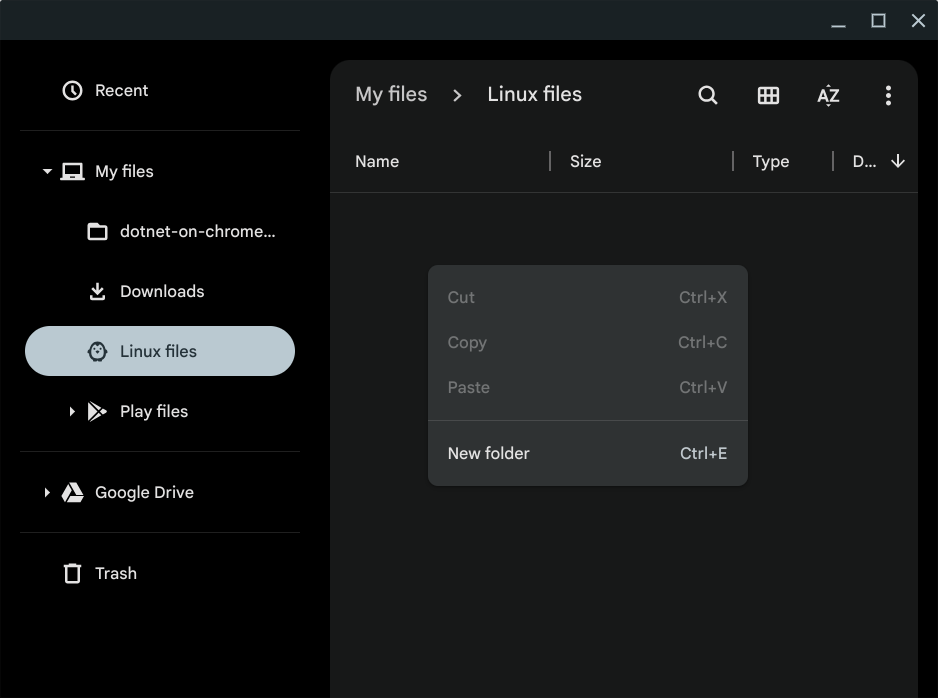
Here is an image showing the creation of a folder named vs-code-console-app in the Linux files directory.

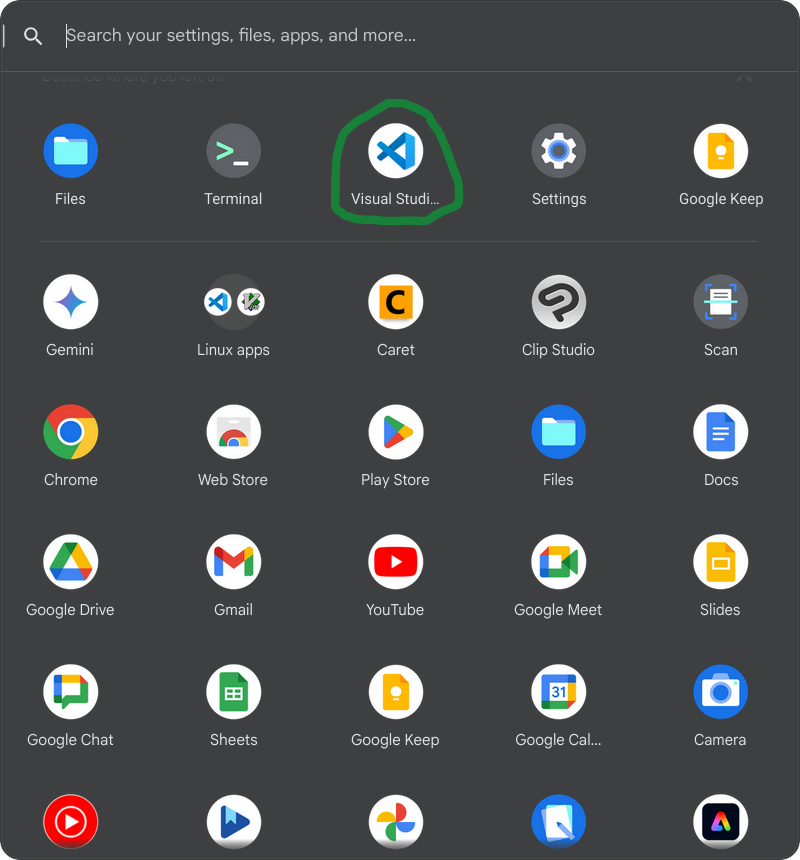
Start vscode and open project folder
When starting to program in C#, it's best to begin with simple console apps before progressing to web development projects.
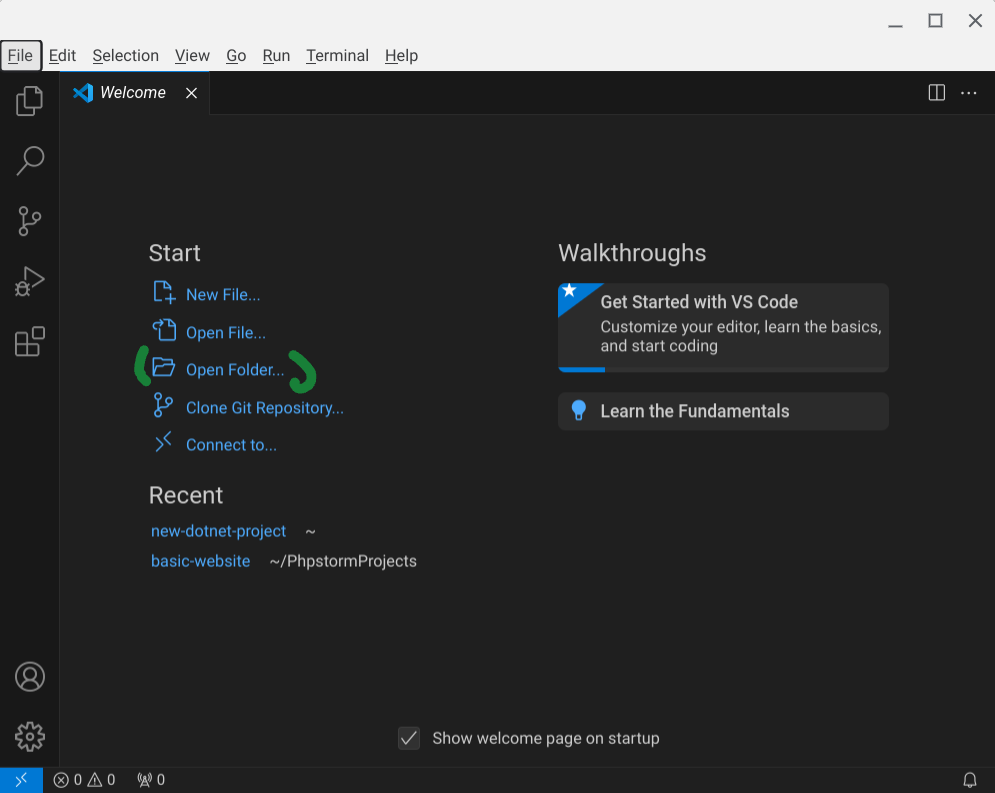
Let's open Visual Studio Code (VS Code) and navigate to the folder we created in the Linux files directory.
Now, open the folder you created earlier in the Linux files directory within Visual Studio Code.
Select the folder named vs-code-console-app and click "Open."
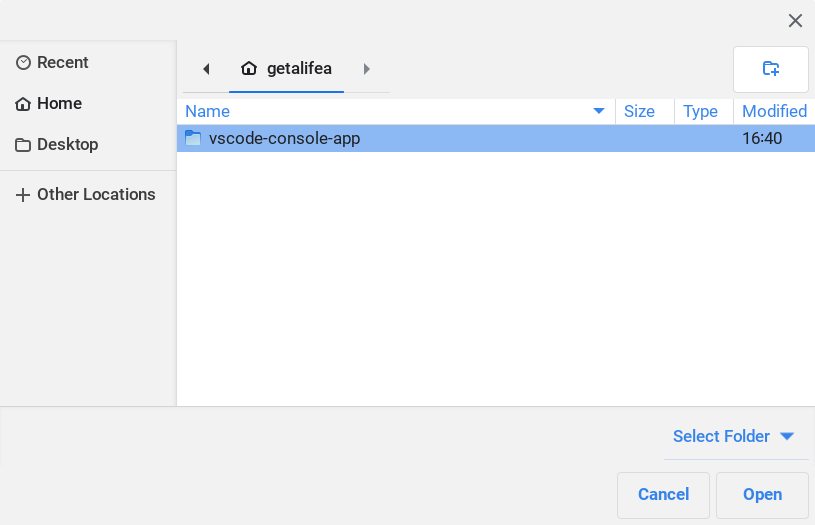
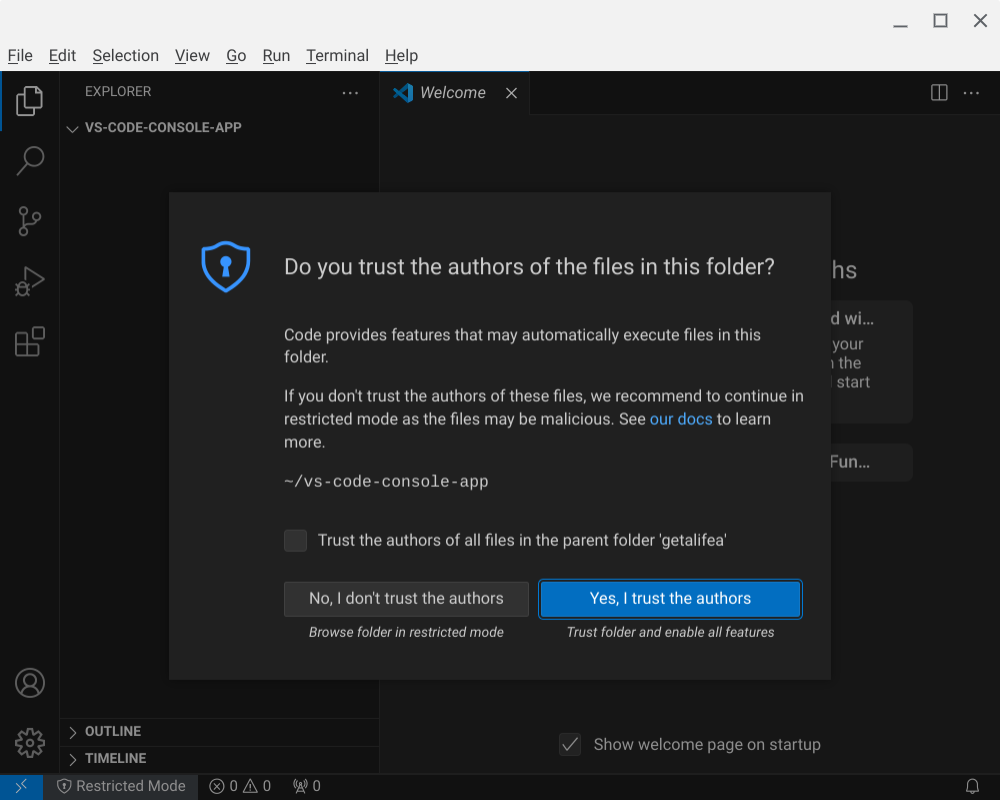
A popup alert will ask if you trust the authors. Since it's an empty folder, click "Yes, I trust the authors."
Creating a Console App in Visual Studio Code
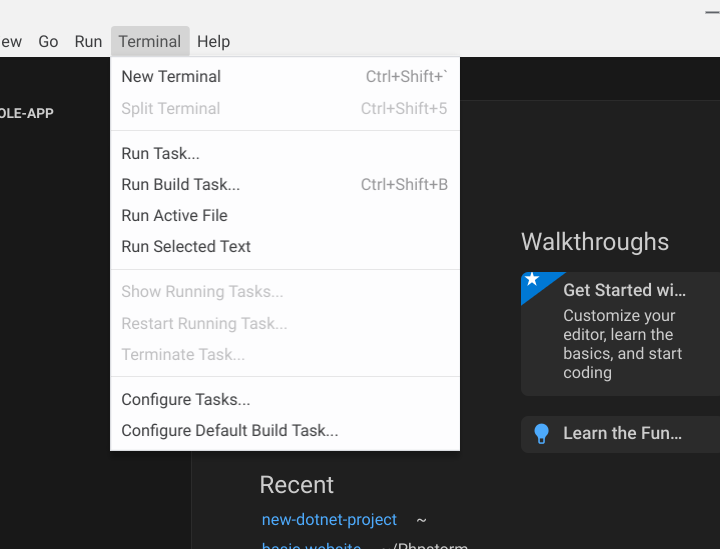
Open the terminal panel in Visual Studio Code.
In the VS Code terminal, enter the following command to create files from the console app template.
dotnet new console
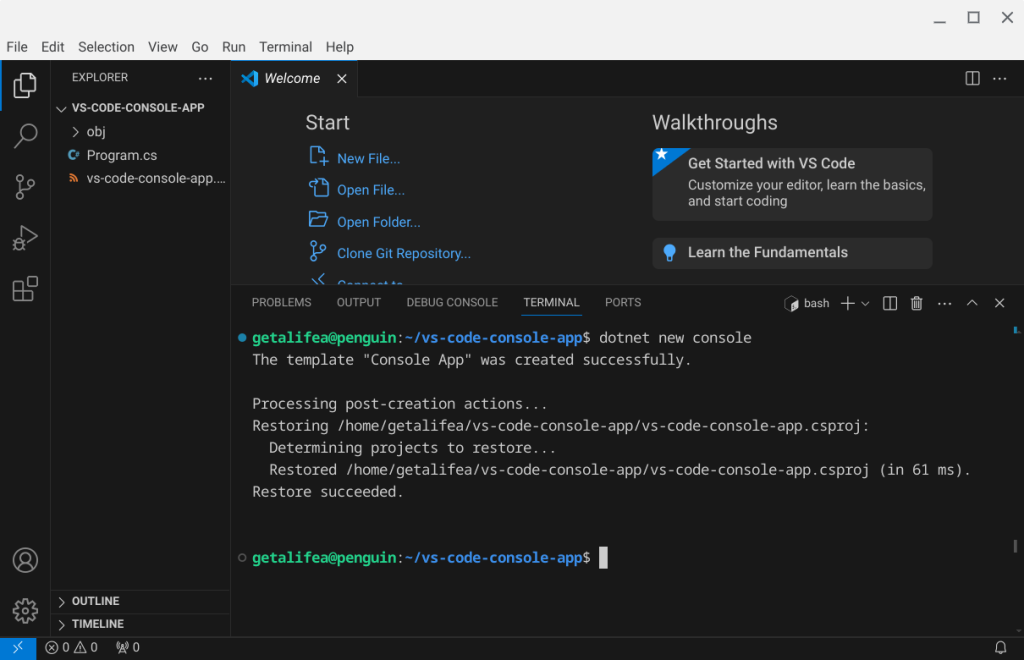
The "dotnet new console" terminal command creates a Program.cs file and vs-code-console-app.csproj file.
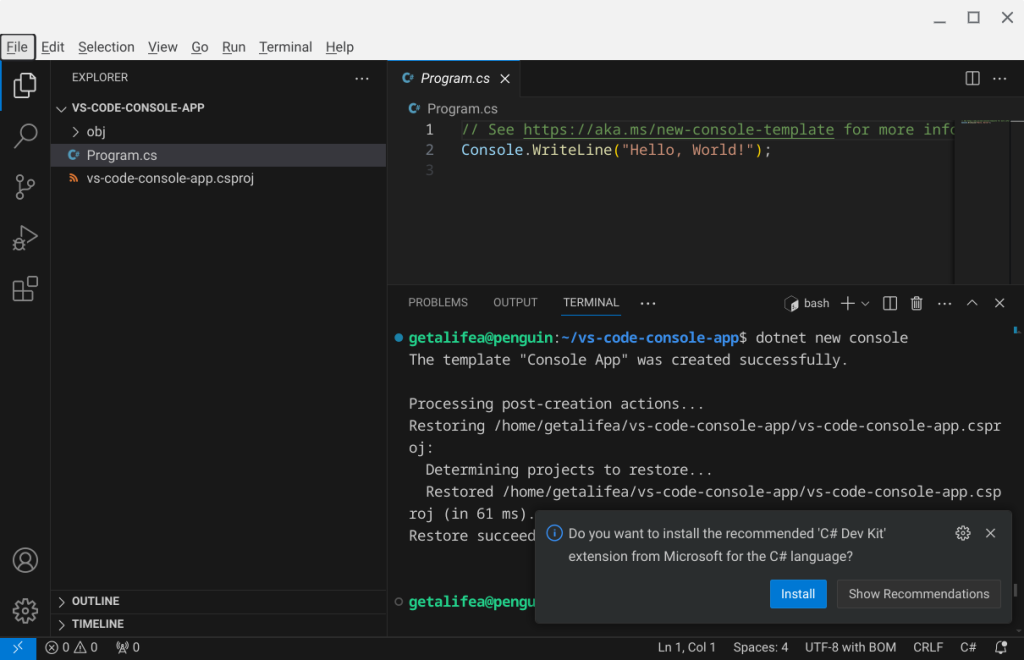
To create a more practical and meaningful console application than simply "Hello World," you will need to edit Program.cs.
When you click on Program.cs in the left files and folders pane, you will see a popup in the bottom right corner to install the C# Dev Kit. Go ahead and install it to benefit from code hints and other features.
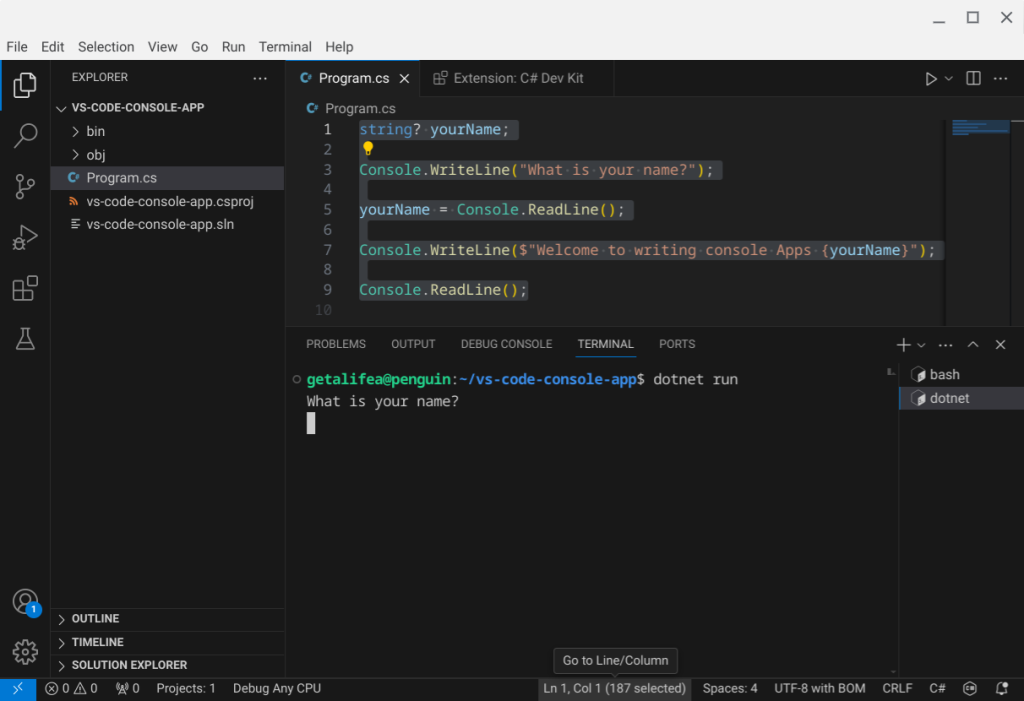
Replace the basic "Hello World" code in Program.cs with the following:
string? yourName;

Console.WriteLine("What is your name?");

yourName = Console.ReadLine();

Console.WriteLine($"Welcome to writing console Apps {yourName}");

Console.ReadLine();
Then, in the terminal, type the following command to build and run your first console app.
dotnet run
Once you familiarize yourself with the syntax by creating a few console apps, you can use the MVC web template to create your first dynamic website or explore the CMS templates available for .NET.